Portals
Requirements
To fully utilize the function, your company must:
- Use the latest managed BookMe package
- Run on package 1.12 - 1.13 in BookMe’s unmanaged package
If your company has not installed any of the mentioned packages, you will only be able to offer the basic functionality.
Purpose
With Portals, your partners and customers can book meetings with their advisor or selected advisors. Portals enhance your accessibility to customers and ensure that valuable meeting leads are not lost in the process.
1. Portal Configuration
The portal configuration is a crucial step that establishes the connection between your portal and CRM system. This setup determines how customer data and meeting information flow between systems.
Understanding Portal Configuration Components:
CRM Portal Fields
- Configuration Name: A unique identifier for your portal configuration
- Key: Maps portal fields to CRM fields
- Object: The CRM object where data will be stored (e.g., Contact, Lead)
- Object Field: The specific field within the CRM object that will store the data
BookMe Meeting Fields
- These fields control how meeting data is synchronized with your CRM
- Essential for tracking and managing appointments in your CRM system
- Enables automated workflow triggers based on meeting status
CRM Creation Strategy
Each portal has a CRM Creation Strategy setting that controls how meeting data is written to the CRM when a customer books through the portal.
| Strategy | What it does |
|---|---|
| CRM Configuration (standard) | Uses a CRM mapping configuration to write meeting data directly to the CRM. You select which configuration to use from the portal’s settings. This is the default for existing portals. |
| Playbook | Delegates CRM record creation to one or more playbooks. Instead of writing directly to the CRM, the portal fires a PortalMeetings event that triggers any playbook configured with a portal trigger for that portal. |
When using the Playbook strategy:
- Create one or more playbooks with a PortalMeetings trigger scoped to the portal (see Introduction to Playbooks — Triggers)
- Multiple playbooks can respond to the same portal — for example, one playbook creates a CRM lead while another sends a notification email
- The portal does not need a CRM mapping configuration — the playbook’s entity pattern blocks handle the CRM write
- The playbook has full access to the portal’s meeting data (title, dates, advisor, attendees, custom fields) through the trigger block’s output
Choosing the Playbook strategy gives you more flexibility than the standard CRM configuration. Playbooks can run AI processing, read additional CRM data, apply business logic, and write to multiple CRM objects — all triggered automatically when a meeting is booked.
Steps to Configure a Portal:
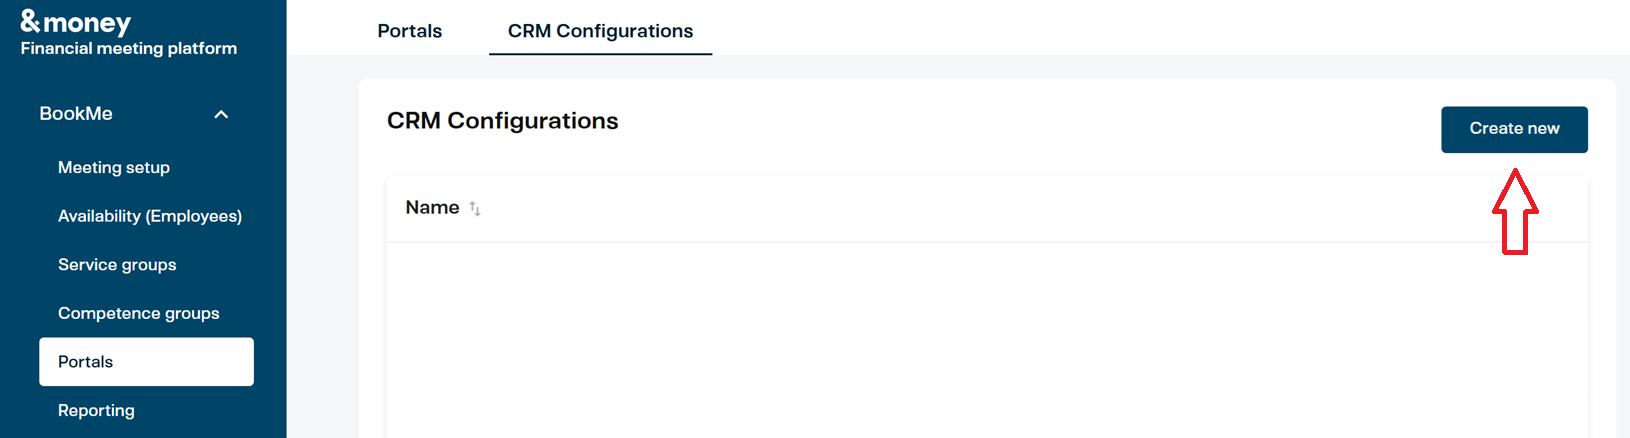
- Go to Management UI and select BookMe -> Portals
- Click on the “CRM Configuration tab
- Click Create New
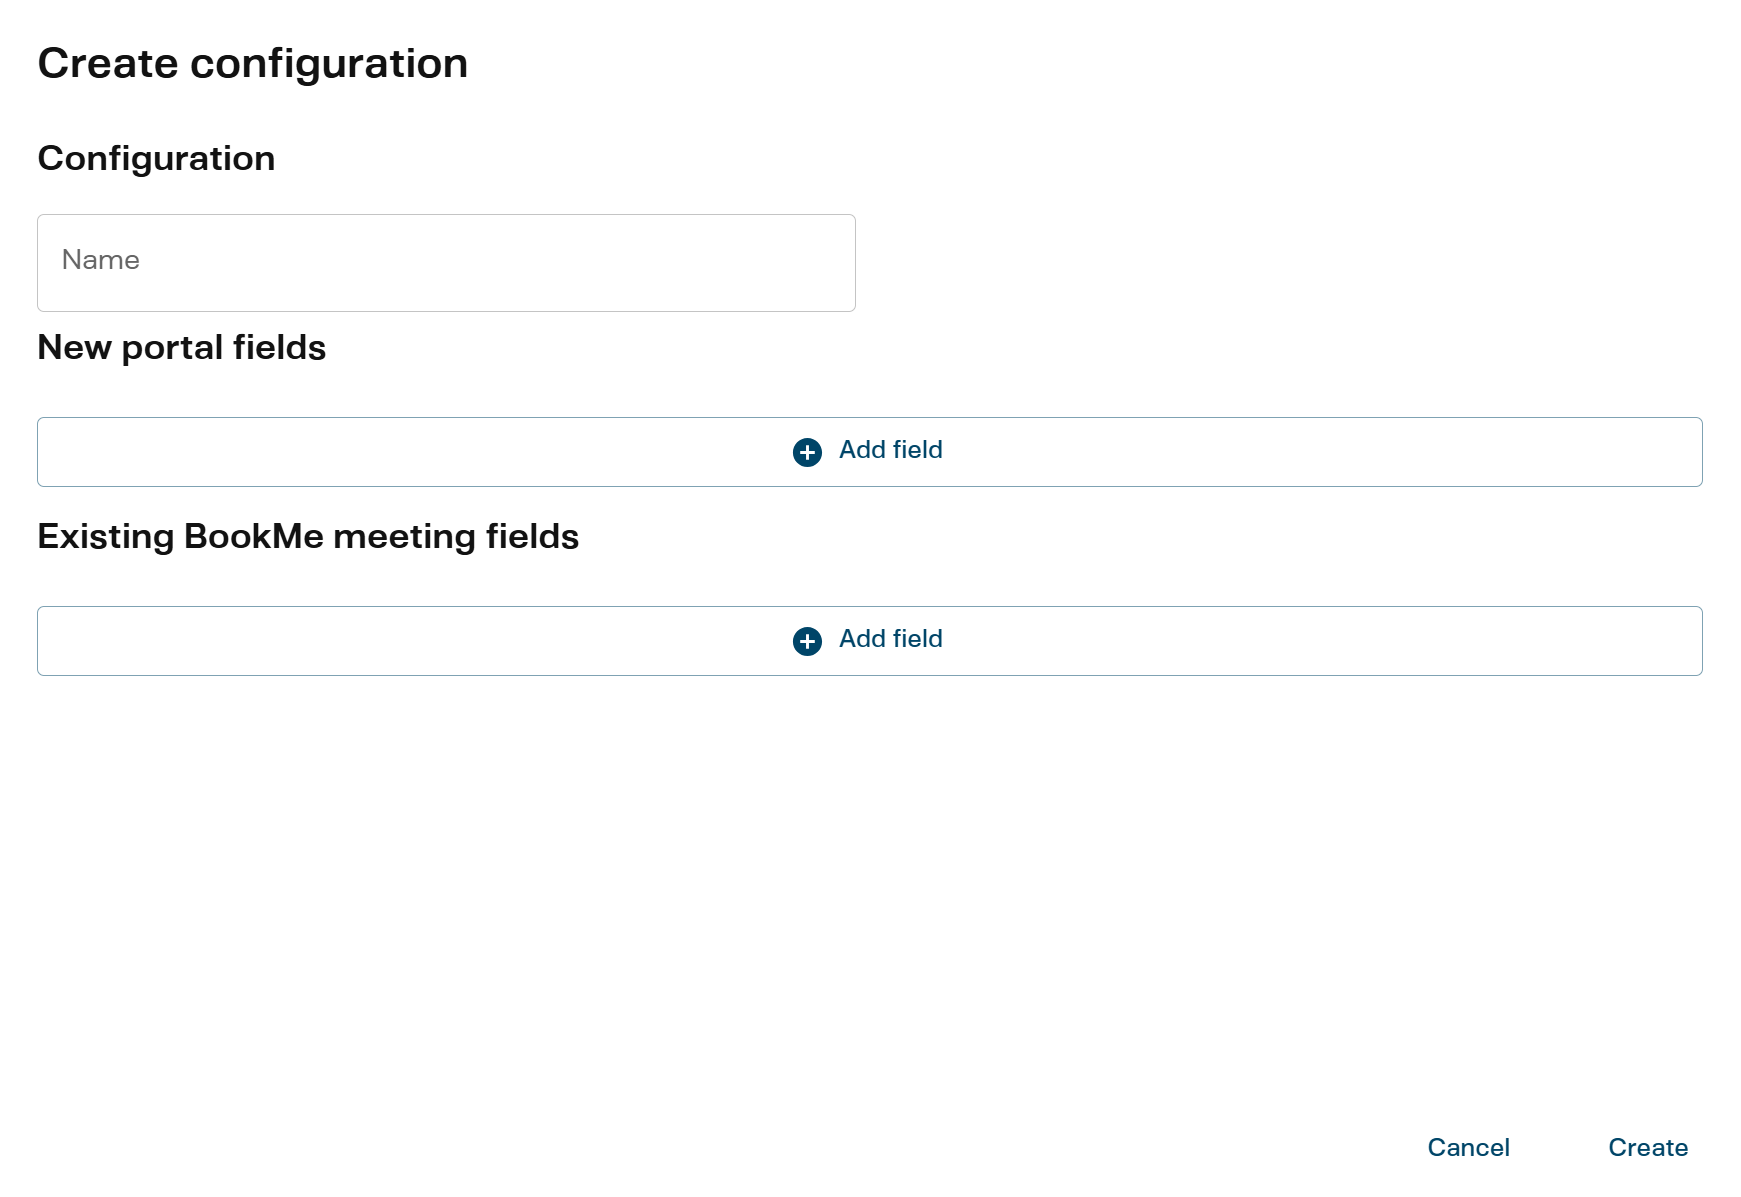
- Enter Configuration Name
- Set up Portal configuration fields
- CRM Portal - new portal - create field setup
- Choose Key
- Select Object
- Select Object field
- CRM Portal - Bookme meeting fields - create standard field setup
- Choose Key
- Select Object
- Select Object field
- CRM Portal - new portal - create field setup
- Click Create to save configuration
- Go to Management UI and select BookMe -> Portals and choose your new Portal.
- Choose your new configuration under Configuration and click Save
- Publish the Portal for partners and internal/external users
Note: Before using the portal, it must be configured with your CRM system.
2. Creating a Portal
A portal serves as the interface between your customers and your booking system. Creating an effective portal requires careful consideration of user experience, branding, and data collection needs.
Key Portal Components:
Authentication
- Azure AD: For enterprise customers and internal users
- MitID: For Danish citizen authentication
- Choose based on your target audience and security requirements
Customization Options
- Branding: Logo and styling to match your corporate identity
- Color Scheme: Customizable colors for various UI elements
- Field Configuration: Flexible form field setup for data collection
Data Collection Strategy
- Plan which customer information you need to collect
- Consider mandatory vs. optional fields
- Balance between gathering necessary information and user convenience
Steps to Create a Portal:
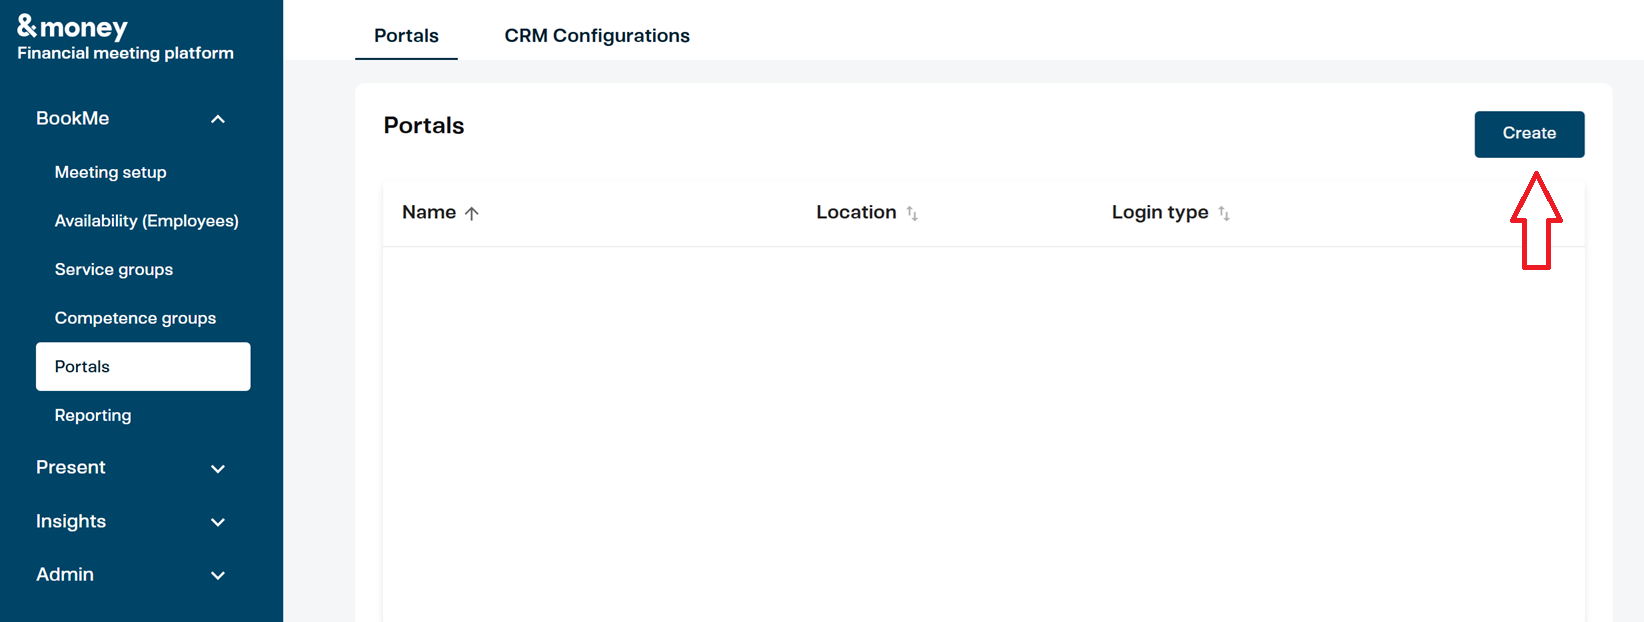
- Go to Management UI and select BookMe -> Portals
- Click Create Portal

- Enter the Portal Name This will appear in the created portal
- Select the CRM Creation Strategy — choose CRM Configuration (standard) to use a mapping configuration, or Playbook to delegate to playbook workflows (see CRM Creation Strategy above)
- If using CRM Configuration strategy, choose the Configuration (select after the configuration has been created)
- Select Login Type (Azure AD / MitID) Choose the appropriate authentication method based on your audience
- Azure AD: For enterprise customers and internal users
- MitID: For Danish citizen authentication
- Enable/disable iCal integration
- Configure Styling
- Insert URL to the logo
- Enter desired logo height
- Customize portal styling such as colors for bullets, header background, buttons, etc.
- Configure Customer Data setup
- Select Customer type
- Choose Meeting topic (Theme for the meeting, e.g., “Investment”, “Car insurance”)
- Assign Location (department)
- Set up Fields for the Portal
- Click Add Field Initiate the process to create a new field in your portal’s configuration interface.
- Enter Key
The “key” is a unique identifier for the field, typically used in your code or database.
Example:
user_email,project_name - Provide Field Name This is the human-readable label shown to users. Example: “User Email”, “Project Name”
- Add Field Description A brief explanation or tooltip to help users understand what to enter. Example: Enter the email address associated with your account.
- Select Default Value Pre-populate the field with a value if appropriate. Example: For a date field, you might default to today’s date.
- Define Order for field display Specify the sequence in which fields appear on the form. Tip: Lower numbers appear first.
- Choose Field Type Select the appropriate input type for your field based on the data you need to collect:
- Text: Single-line text input for names, titles, or short descriptions
- Number: Numeric input for quantities, amounts, or IDs
- Date: Date picker for scheduling or date-related information
- Time: Time picker for specifying times
- TextArea: Multi-line text input for longer descriptions or comments
- Boolean: Checkbox for yes/no or true/false options - Indicate if the field is Required Mark fields as mandatory to ensure critical information is collected:
- Required fields must be completed before form submission
- Required fields are typically marked with an asterisk (*) in the portal interface - Indicate if the field should be Hidden (e.g., pre-filled text/value) Configure field visibility and pre-population:
- Hidden fields are not visible to users but can store data
- Can be pre-filled with default values or system-generated data
- Examples: Portal source identifier, timestamp, internal tracking codes - Configure Regex Validations (choose from predefined options or create custom ones) Set up data validation rules to ensure data quality and format consistency:
- Predefined options: Choose from common validation patterns (see Regex validation rules section below)
- CPR numbers: Validates Danish personal identification numbers
- Email addresses: Ensures proper email format
- Phone numbers: Validates Danish phone number format
- Names: Allows only alphabetic characters including Danish letters
- URLs: Basic URL format validation
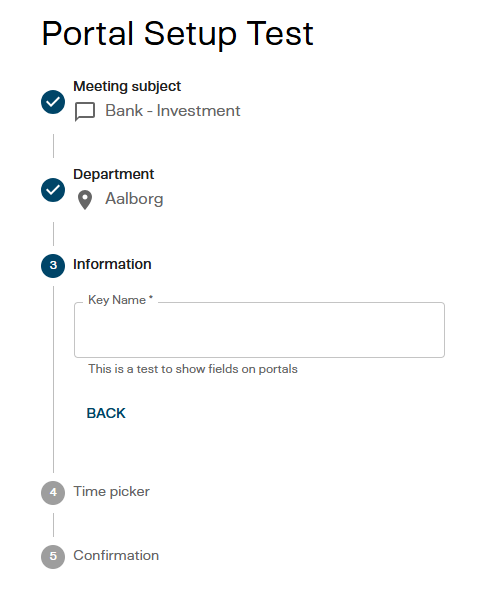
- Custom regex: Create your own validation patterns for specific business requirements - Example of field setup
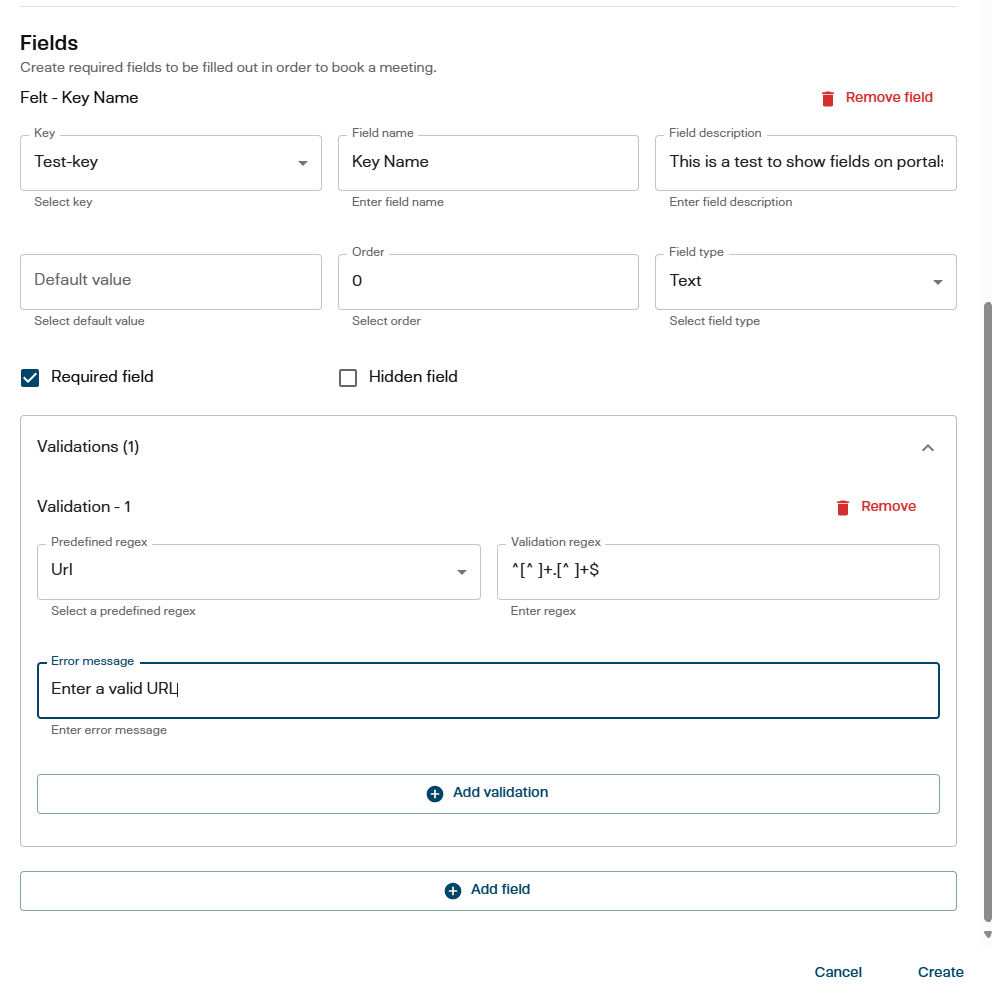
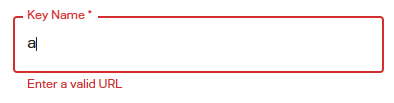
And the field will look like this in the portal:
Where an example of error input can be seen:
- Finalize by clicking Create
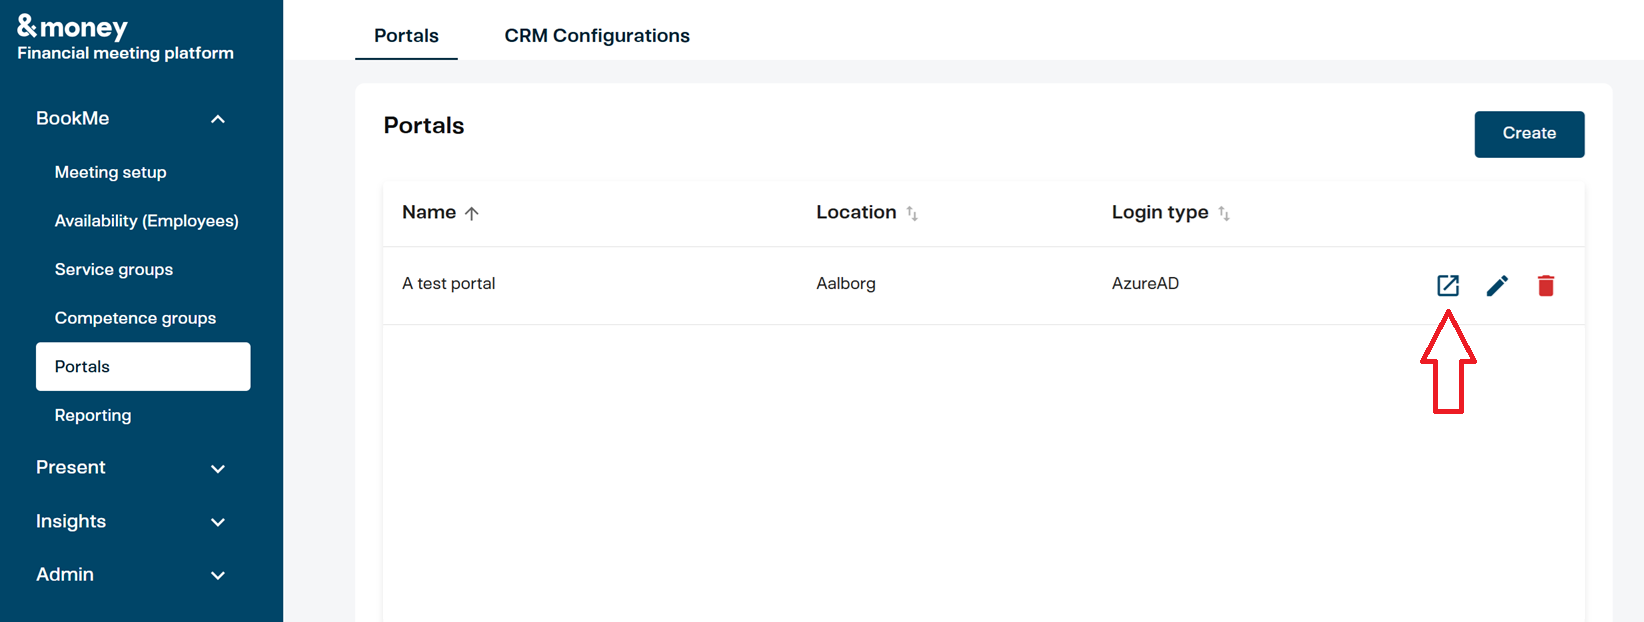
- Test the Portal by clicking on the portal icon (square with an arrow) on the homepage
Note: Before using the portal, it must be configured with your CRM system.
Portal Styling
You have the option to style your Portal under Custom styling
Example:
-
Setting background-, stepicon og text color:
--mui-palette-primary-main: #153C56;

.MuiStepIcon-root {
color: #B5101F;
}

.MuiTypography-root {
color: #B5101F;
}

.MuiStepper-root {
width: 50%;
}
Ensure colors do not obscure button visibility.
Regex validation rules
Field validation ensures data quality and consistency in your portal submissions. When setting up your Portal, you can implement validation rules for specific fields using Regular Expressions (regex).
Understanding Validation Rules
- Ensures data meets specific format requirements
- Prevents submission of invalid data
- Improves data quality in your CRM system
- Enhances user experience with immediate feedback
Pre-configured Validation Rules
The following regex validation rules come as standalone formulas, ready to implement:
| Fields | Regex validation formula |
|---|---|
| Cpr-number | ^\d{6}-\d{4}$ |
| Customer name | ^[a-zA-ZæøåÆØÅ]+$ |
| ^[a-zA-Z0-9._%+-]+@[a-zA-Z0-9.-]+.[a-zA-Z]{2,}$ | |
| Danish phone number | ^\+45\d{8}$ |
| Url | ^[^ ]+\.[^ ]+$ |
Important Note
Ensure that your Portal is properly configured to align with your CRM system requirements before going live.